
Usually, you won’t find any issue with your Skype application once you install it correctly on your computer. However, sometimes due to incorrect settings, not allowing permissions, or outdated Skype or Operating System can lead to different issues with Skype. One of the most common issues faced by users is the problem of Sound card with the Skype program. If you find that your Skype cannot detect the sound card, you can follow the different workarounds provided below.
Ways to Fix “Skype Can’t Detect Sound Card” Issue
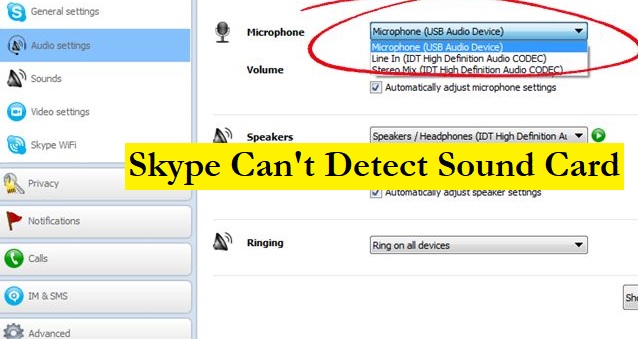
As a sound card is required to connect a microphone or speaker to Skype and other applications, sometimes it may get undetected by Skype due to different reasons. Below you will find the solutions that will help you overcome the problem.
-
Allow Skype to Use the Microphone
Sometimes, the setting which allows an application to use the microphone can be turned off. Therefore, it is necessary to make sure that permission to use the Microphone is allowed to Skype. To know how to allow permission, follow these steps:
- Click on the Windows Start option located on the lower-left corner or press the Windows key on your keyboard.
- From the menu, you will need to select the Settings option and then the Privacy
- In the Privacy section, click on the Microphone option located on the left-hand side menu.
- Then, turn the Allow apps to access your microphone option’s slider to ON.
- Check if this helps you fix the problem.
-
Use Hardware and Devices Troubleshooter
As the problem is related with the access to the sound card, you can use Hardware and Devices troubleshooter to identify and fix the issue automatically.
- Go to the Start menu and click on the Settings
- In the Settings section, you will need to select the Updates and security option and then go to the Troubleshoot
- In the Troubleshoot tab, you will need to select the Hardware and Devices troubleshooter and click on the Run the troubleshooter
- Once the troubleshooting process gets completed, you will need to restart your computer to see if the problem is fixed or not.
-
Keep Your Windows OS Up-To-Date
Having an outdated Windows operating system can also lead to issues with the different applications installed on your computer. Therefore, it is suggested to make sure that the operating system of your Windows is running with the latest updates. You can check for the updates by following these steps:
- Go to the Start menu on your computer and type Updates in the search field.
- From the search result, you will need to select the Check for updates
- On the window that appears on your screen, you will see if any update is available for your system.
- If you find any update available, make sure to download it by following the on-screen prompts.
-
Keep Audio Inputs and Output Drivers Up-To-Date
Just like it is important to keep your Windows operating system up-to-date, it is also necessary to ensure that the Audio Inputs and Output drivers are also running with the latest updates. While the updates available for Windows usually include updates for drivers as well, however, you can also check if any update is available for Audio Input and Output Drivers by following these steps:
- In the Start search field, type Device Manager.
- From the search result, you will need to select the Device Manager
- In the Device Manager window, you will need to click on the Audio inputs and outputs You will find two options under it. They are
- Microphone
- Speakers
- You will need to right-click on both options (one at a time) and select the Update driver Then, follow the on-screen prompts to update the driver.
-
Check Skype Updates
In addition to updating the operating system and audio inputs and outputs drivers, it is also necessary to check if any update is available for your Skype program. As using an outdated Skype program can also cause problem detecting sound card sometimes, you can follow these steps to check Skype updates:
- Launch the Skype program on your computer.
- Once it gets opened, you will need to click on the menu option (three horizontal dots).
- From the drop-down menu, select the Help and Feedback option.
- On the next screen, you will see if any update is available for your Skype program or it is already running with the latest updates.
-
Uninstall and Re-Install Skype Program
If even after following the above-mentioned workarounds, you are unable to fix the sound card issue in your Skype program, you can consider uninstalling Skype from your program and installing it again.
- Make sure to download Skype for desktop applications from the Microsoft website only.
- Restart your system once after uninstalling and reinstalling the Skype program.
- When setting up a Skype program on your desktop, make sure to read each on-screen prompts to make sure that the installation process gets completed successfully.
- Sign in to your Skype account only after restarting your system.
So, these are the workarounds that will help you fix “Skype can’t detect sound card” issue. For any further help you can contact customer support helpline number of Skype to fix your problem.